Meltano Open Source Production Grade Data Integration
In this article, we delve into the practical application of Meltano, an open-source platform designed for building, running, and orchestrating ELT pipelines. Building upon our previous discussion of Meltano’s architecture, this installment guides you through the process of creating a data integration pipeline, from initializing a project to configuring extractors and loaders, and utilizing the Meltano UI for streamlined management.
Meltano in action
In our last overview, we talked about Meltano and its architecture. Now, we would like to illustrate the ease in which you can use Meltano to create a data integration pipeline.
Before we start, please ensure that you have already installed Meltano on your machine. If you haven’t yet, you can follow Meltano’s official installation guide.
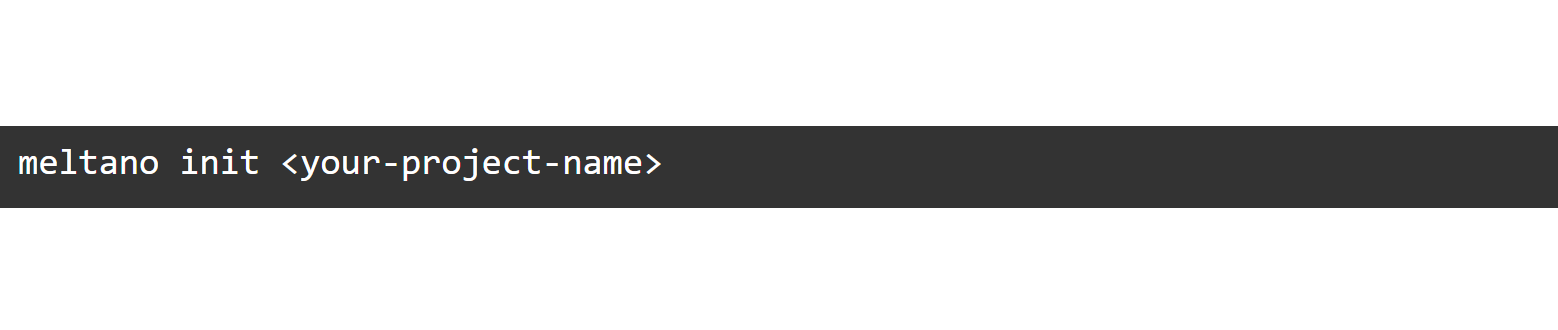
First we will initialize a Meltano project.
Initialize a new project in a directory of your choice by using “meltano init”. This will create a new directory with, among other things, your “meltano.yml” project file.
The Meltano project folder
The project folder is the single source of truth for all your data needs. It is a simple directory and version controllable.
The main part of your project is the meltano.yml project file. This file defines your plugins, pipelines and configuration.
The project and meltano.yml files are manageable using the Meltano CLI and are instantly containerized for Docker/Kubernetes deployment. Though, please note that there are not any defined plugins or pipeline schedules created yet. We will do this in the next step.
Build Better Data Platforms
Practical architecture insights for modern data teams. Join 8,000+ data professionals.
Get Free InsightsAdding an extractor and loader
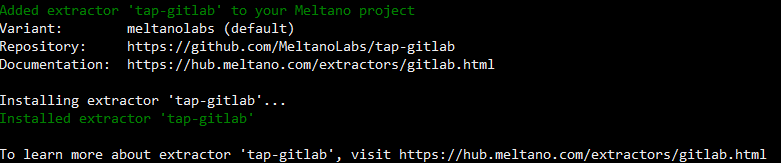
Now, let’s initialize the pipeline’s components. The first plugin you’ll want to add is an extractor which will be responsible for pulling data out of your data source.
To find out if an extractor for your data source is supported out of the box, you can check the Extractors list on MeltanoHub or run “meltano discover”.
We will use the Tap for Gitlab in this example as we don’t need to create API credentials.

Meltano manages setup, configuration and handles invocation.
We will configure the extractor to pull the data from the repository meltano/meltano. Additionally, we will define it to only extract data as of 1 January 2021 and to include only data under the “Tags” stream.
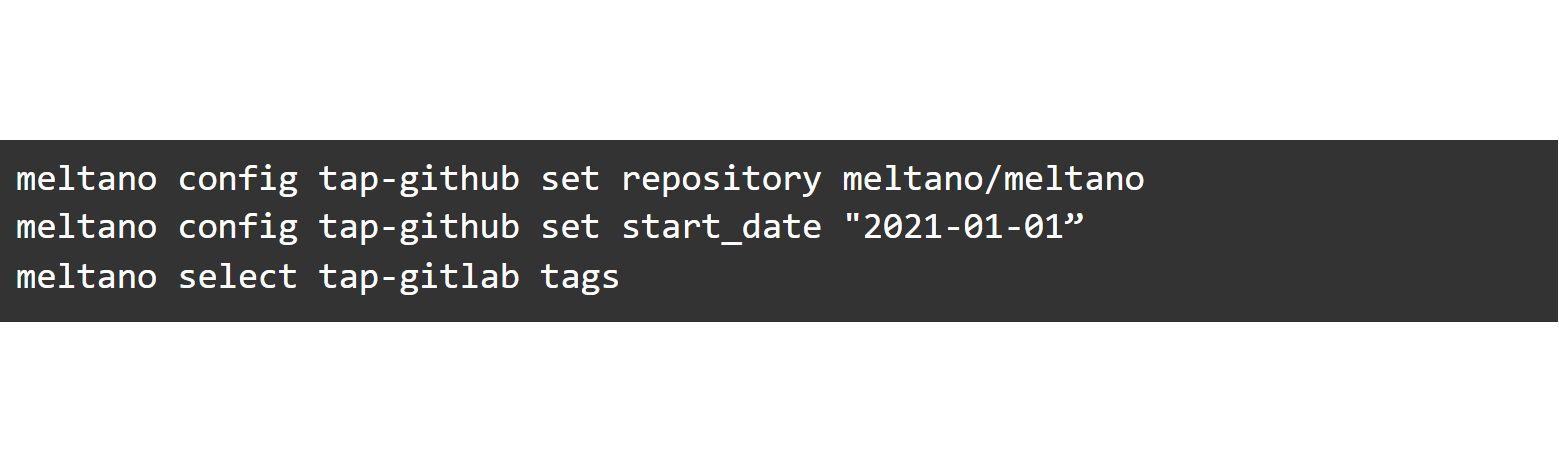
Data selection is way easier than using just Singer! The extractor is now set up. Now, we will add a loader to store the data into a CSV file and define our destination path:
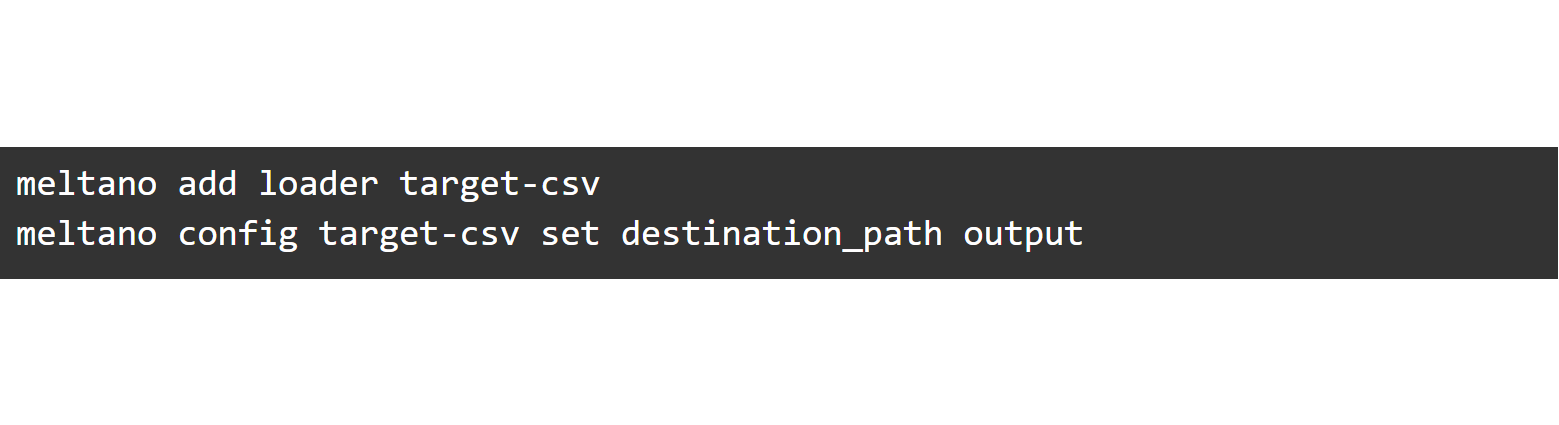
Remember that the directory needs to be previously created, as it will not be created automatically. This is what our meltano.yml looks like:
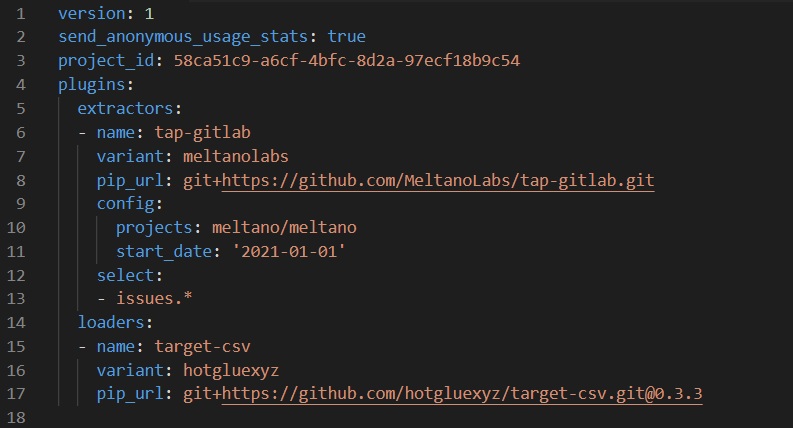
Instead of using the CLI, we can make changes directly in the YAML.
This way, it’s also possible to configure the extractors and loaders in the Meltano UI:
Start the Meltano UI web server using meltano ui. Unless configured otherwise, the UI will now be available at http://localhost:5000.


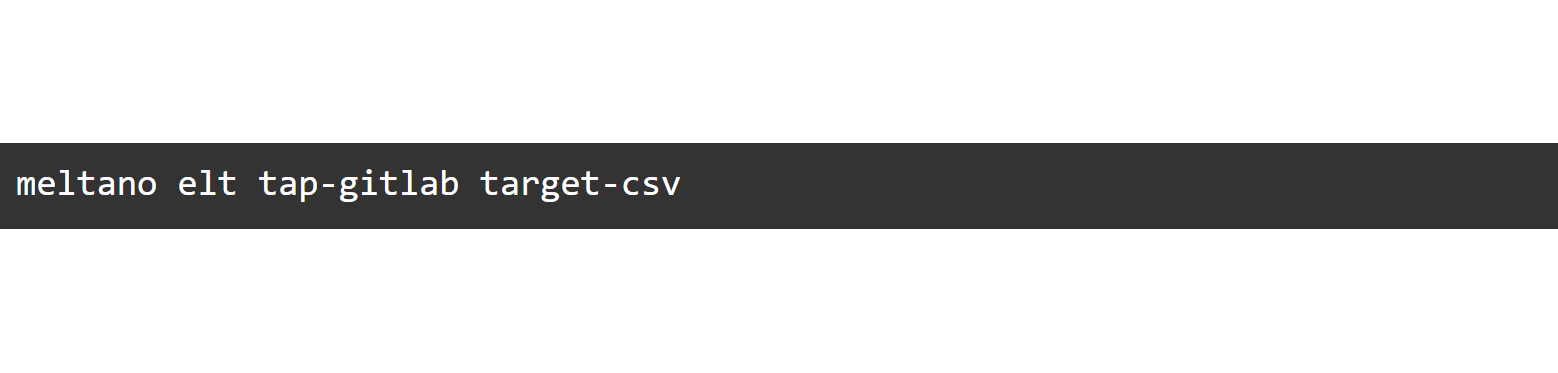
Run a pipeline
Now it’s time to run a pipeline. To run a one-time pipeline, we can just use the meltano elt command:

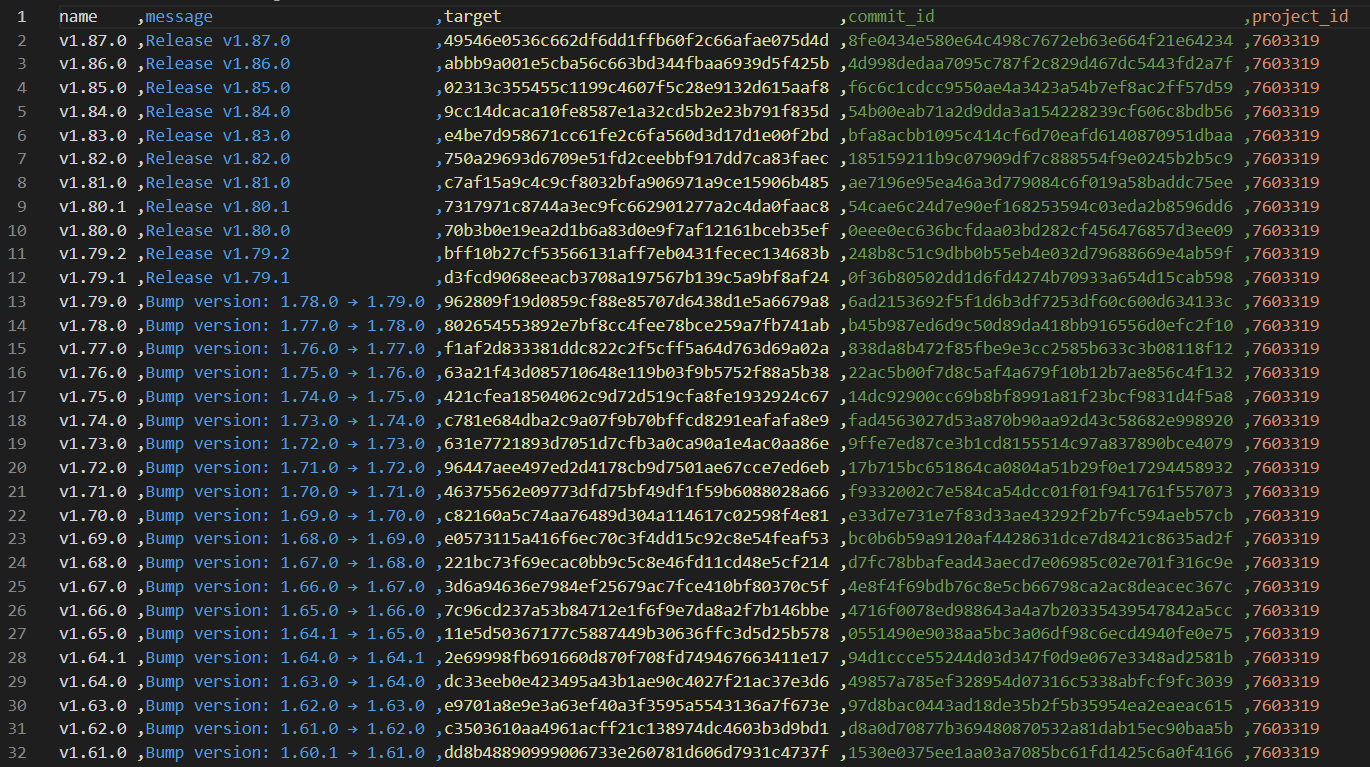
Result
And we are done! It took us just ten commands to create a data integration pipeline.
Build Better Data Platforms
Practical architecture insights for modern data teams. Join 8,000+ data professionals.
Get Free InsightsConclusion
It’s clear why Meltano is a great choice for building your data platform: it’s powerful but simple to maintain and its open-source model makes it flexible, budget-friendly and reliable.
